Сравнение версий
Ключ
- Эта строка добавлена.
- Эта строка удалена.
- Изменено форматирование.
| Pagetitle | ||||
|---|---|---|---|---|
|
| Оглавление |
|---|
| Russian | ||||||||||||||||||||
|---|---|---|---|---|---|---|---|---|---|---|---|---|---|---|---|---|---|---|---|---|
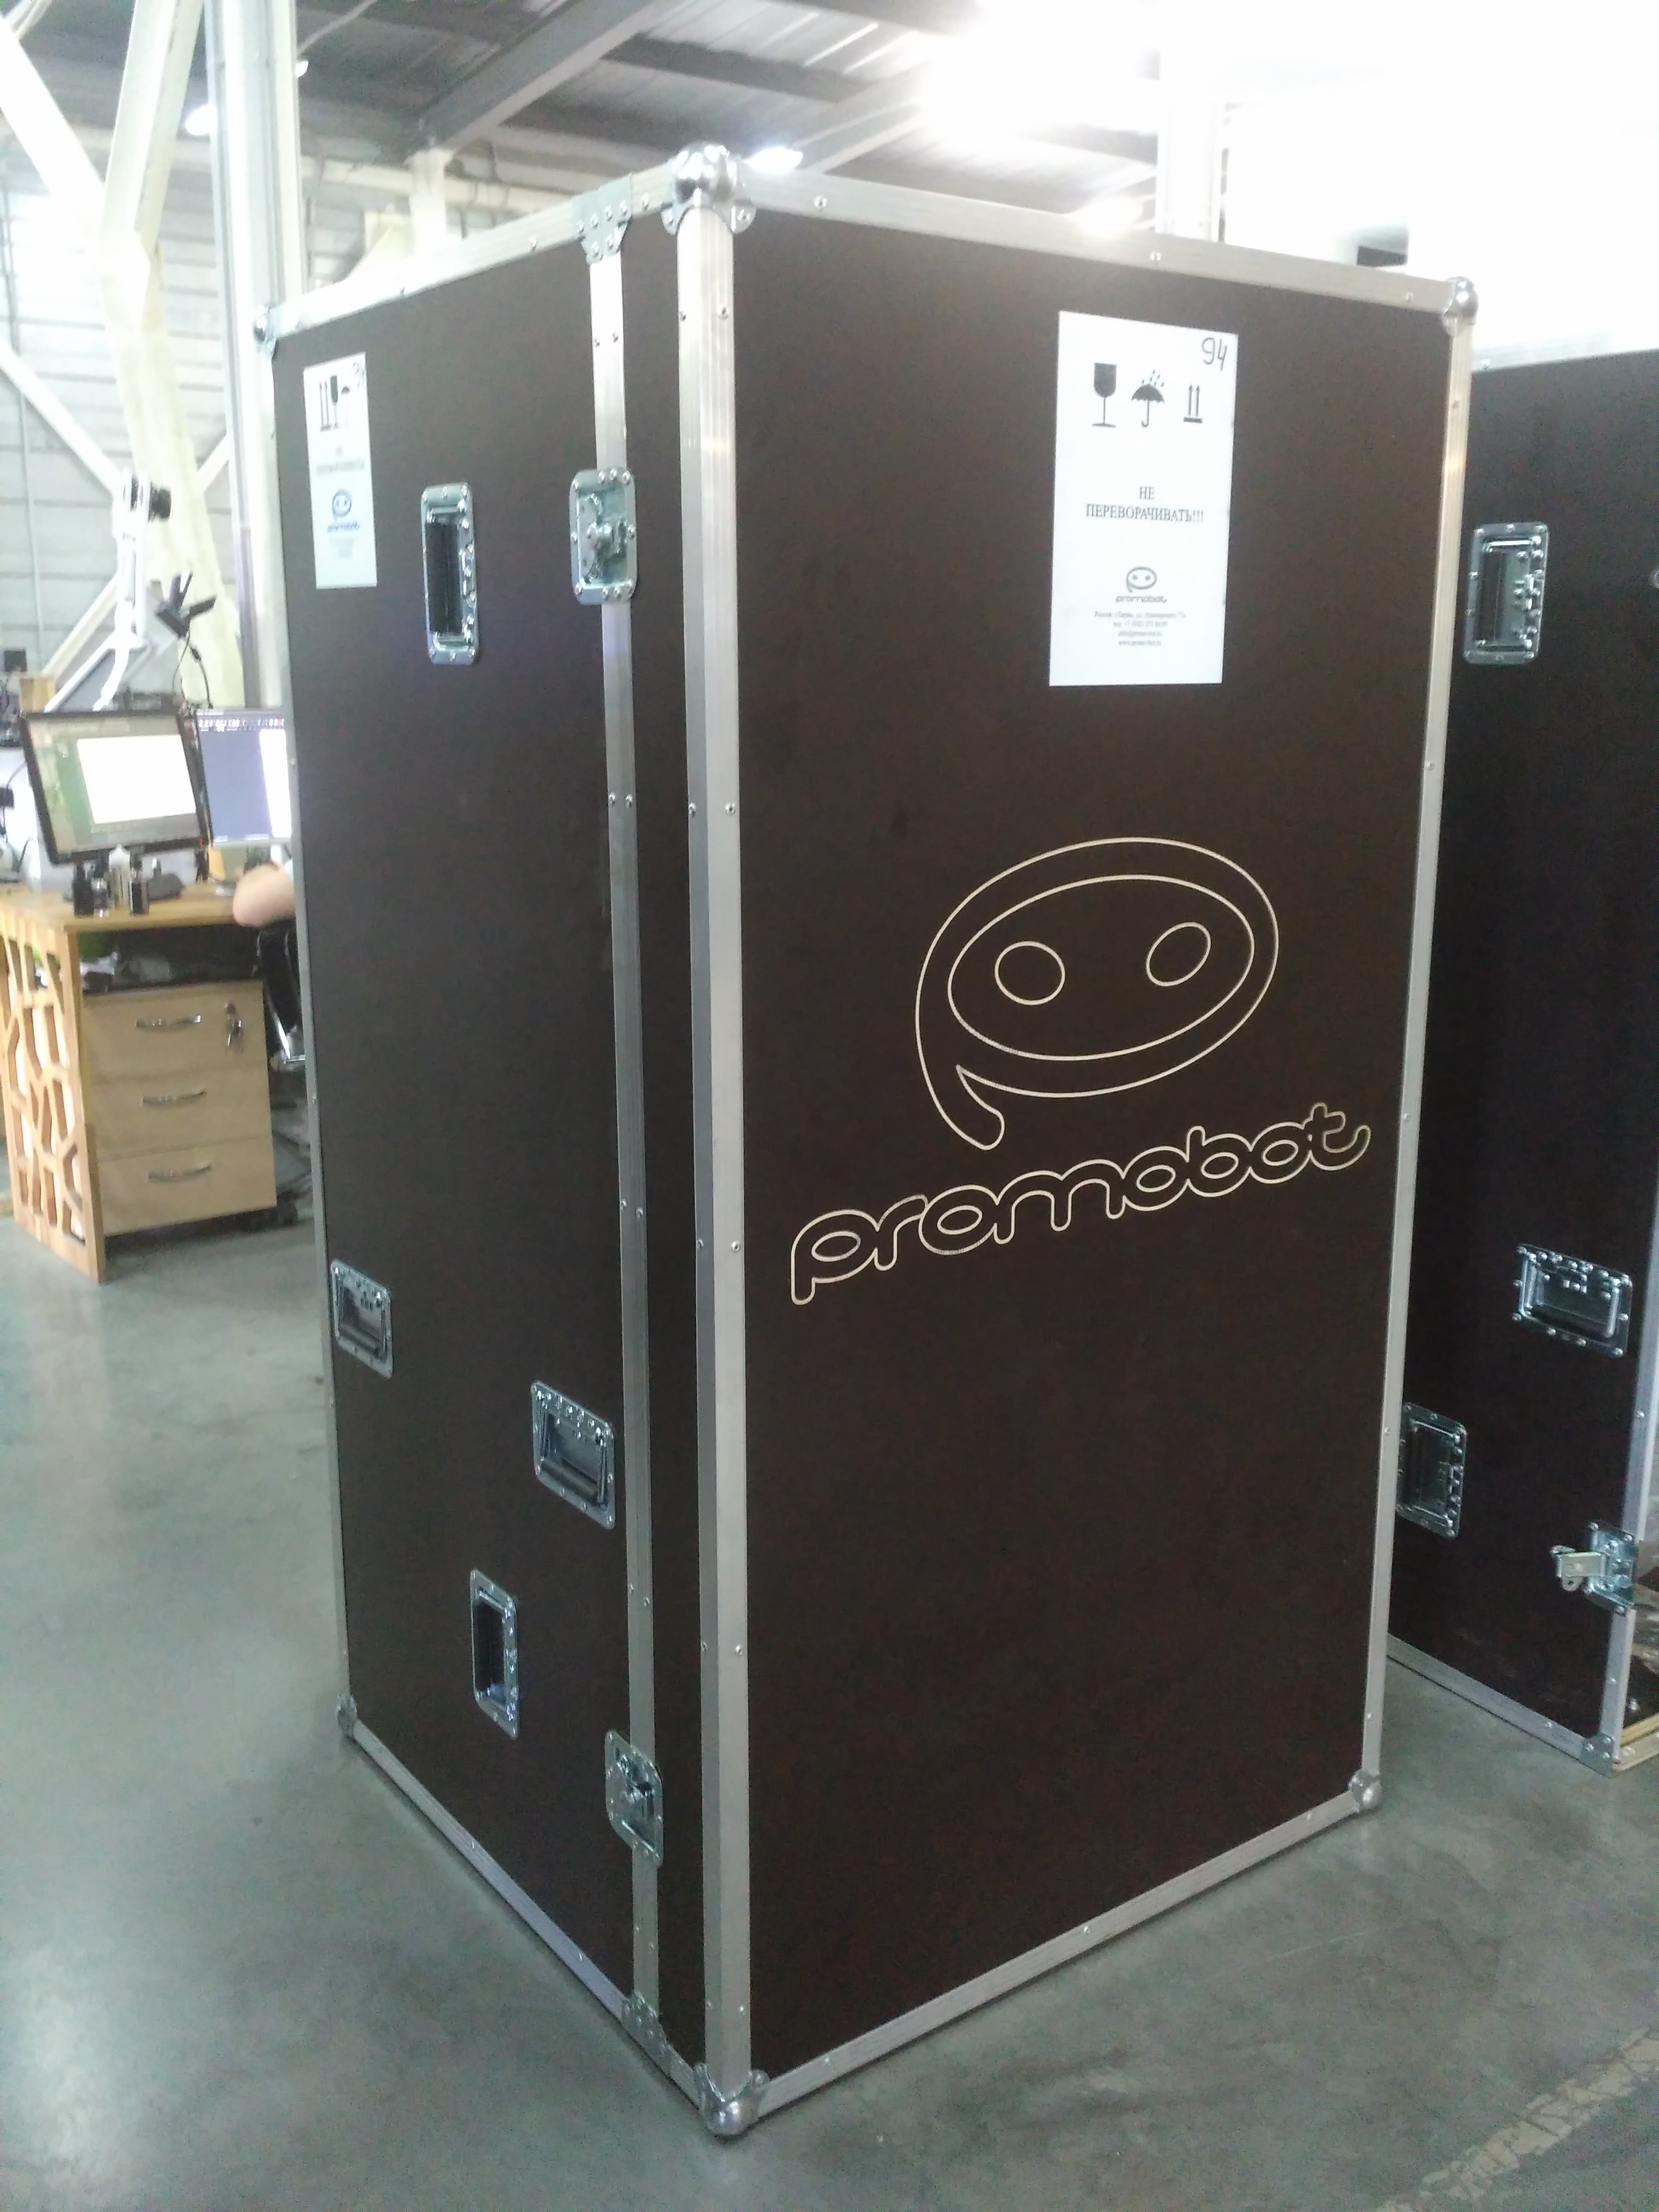
Введение1. Робот транспортируется в специальном защитном кофре
3. Перемещать робота можно или строго вертикально в соответствии с маркировкой на наклейке или горизонтально на колесах
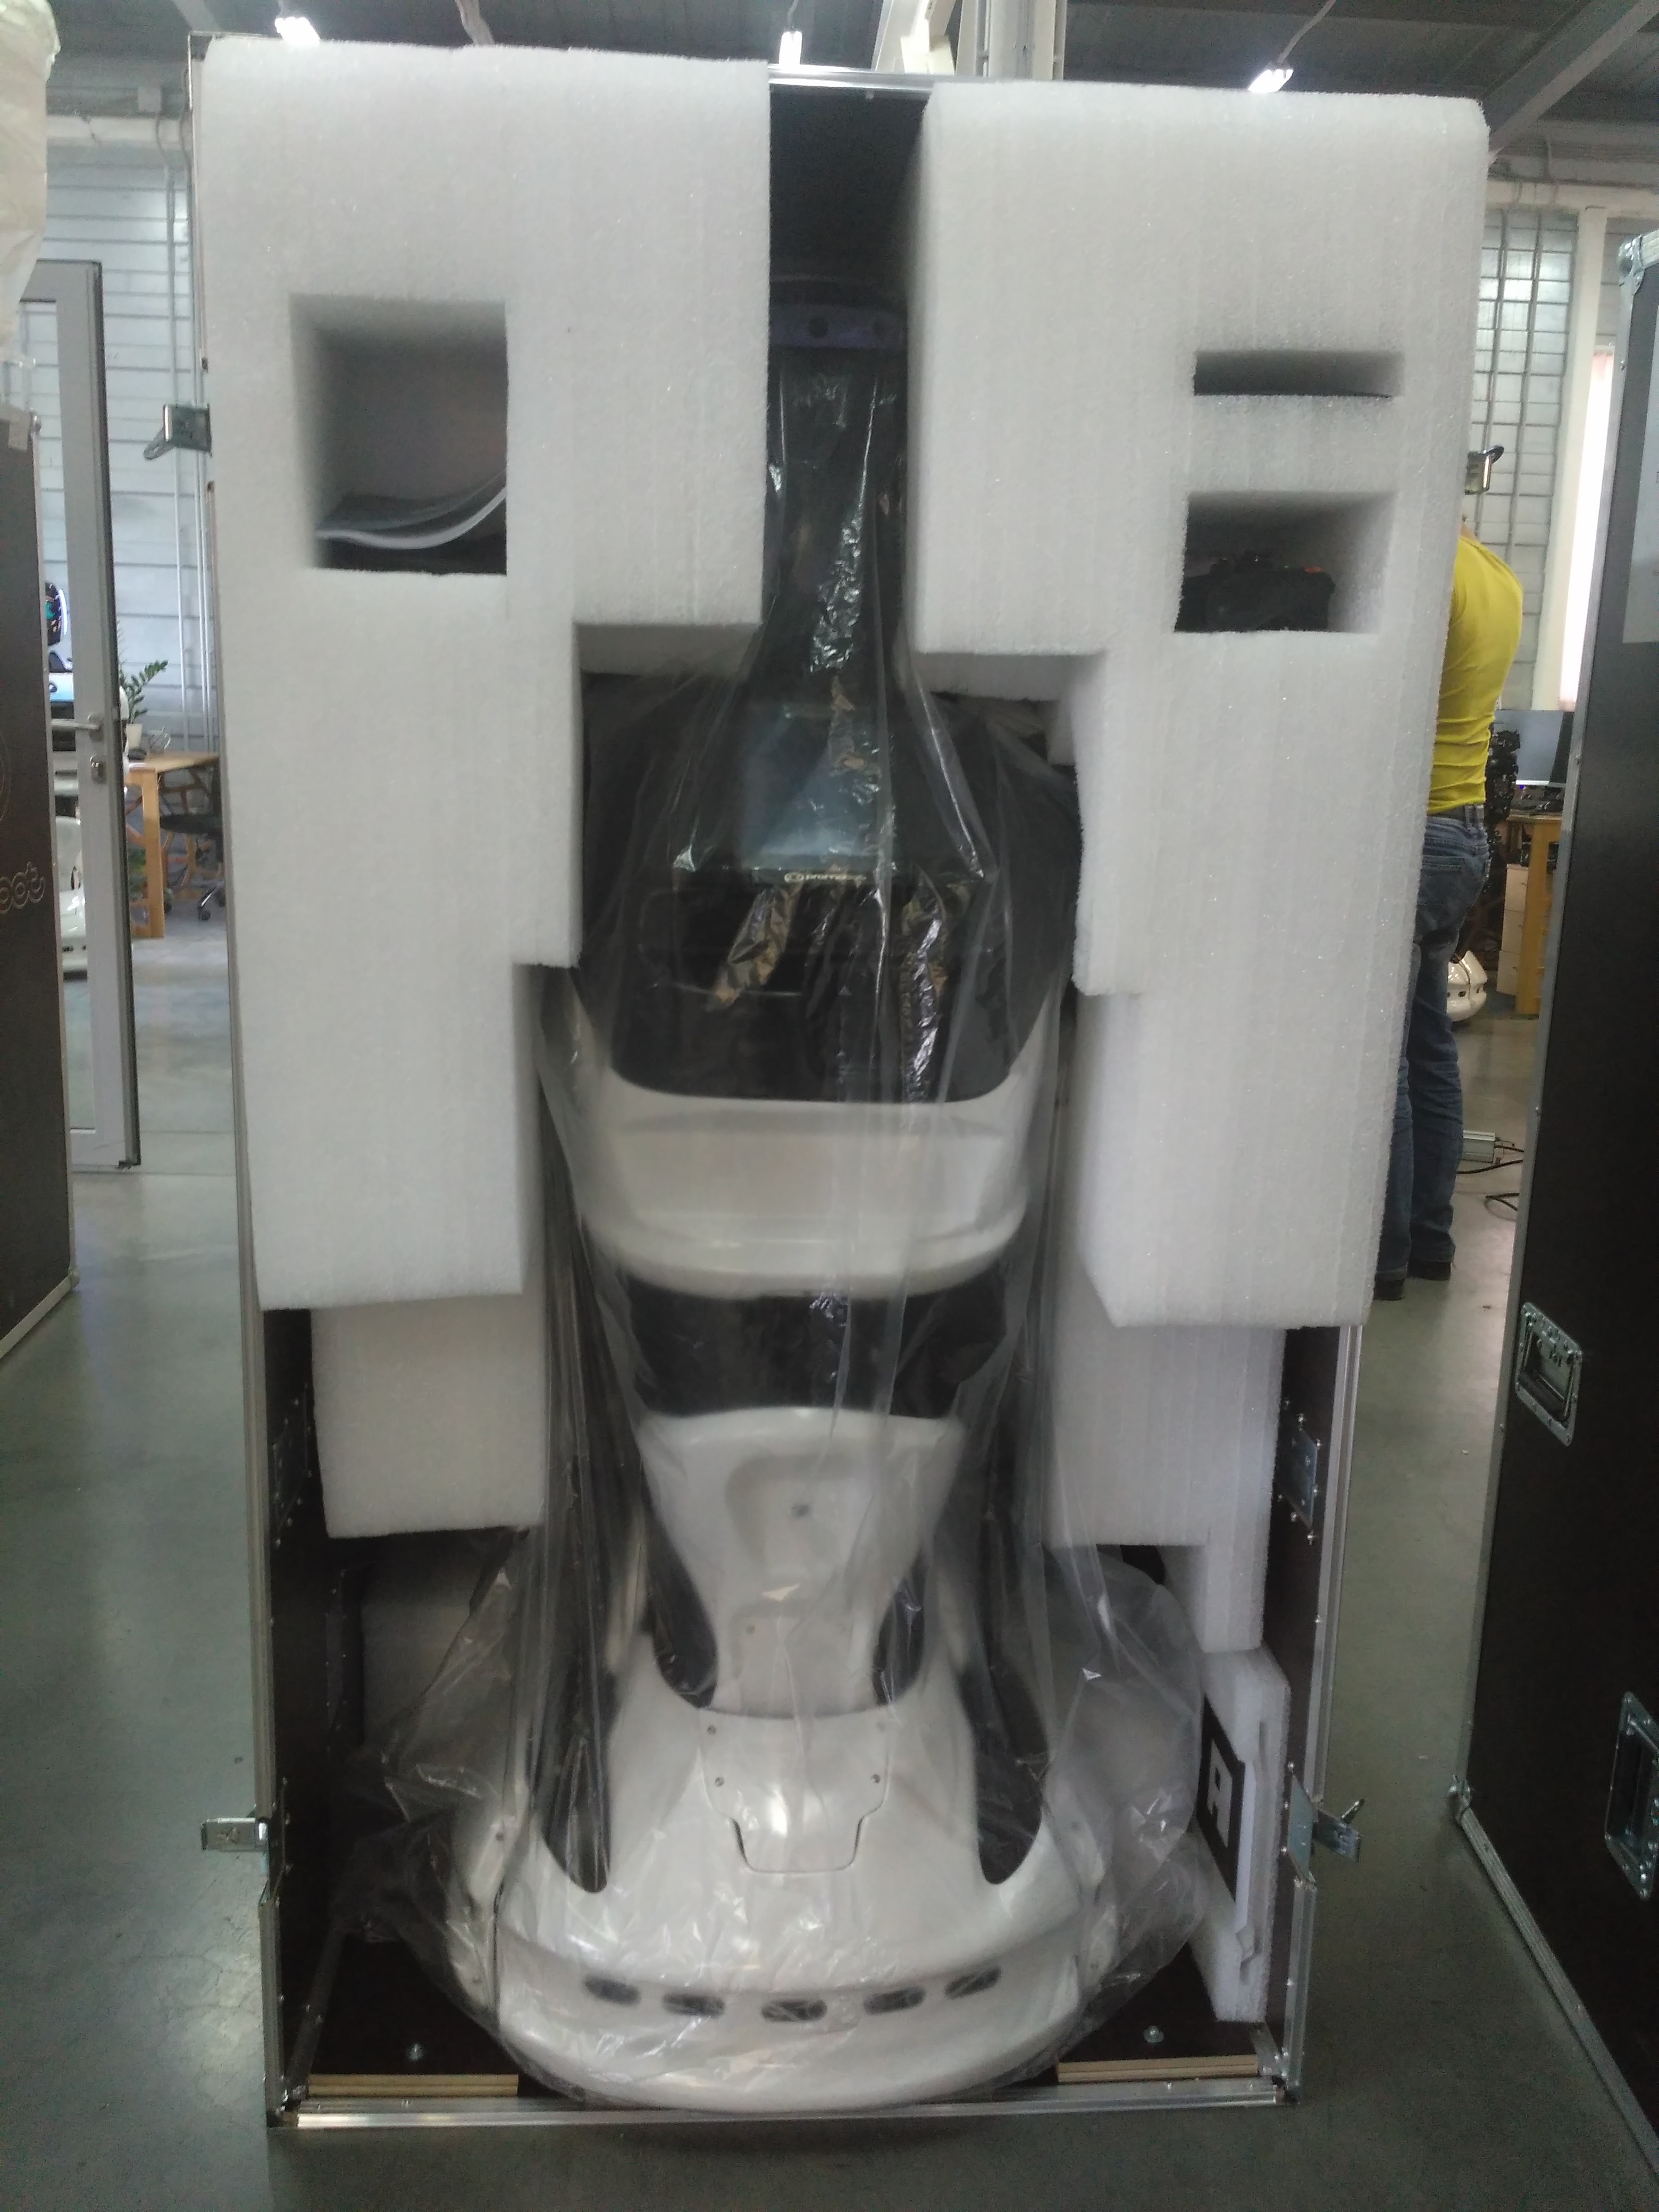
4. Внутри кофра робот располагается в ложементе из вспененного полиэтилена, который защищает робота от повреждений при транспортировке.
При получении робота необходимо убедиться в том, что кофр перемещался в соответствии с требованиями (вертикально в соответствии с обозначением на наклейке или горизонтально на колесах), визуально оценить целостность кофра. Распаковку следует производить с помощником!
|
| Section | ||||
|---|---|---|---|---|
|
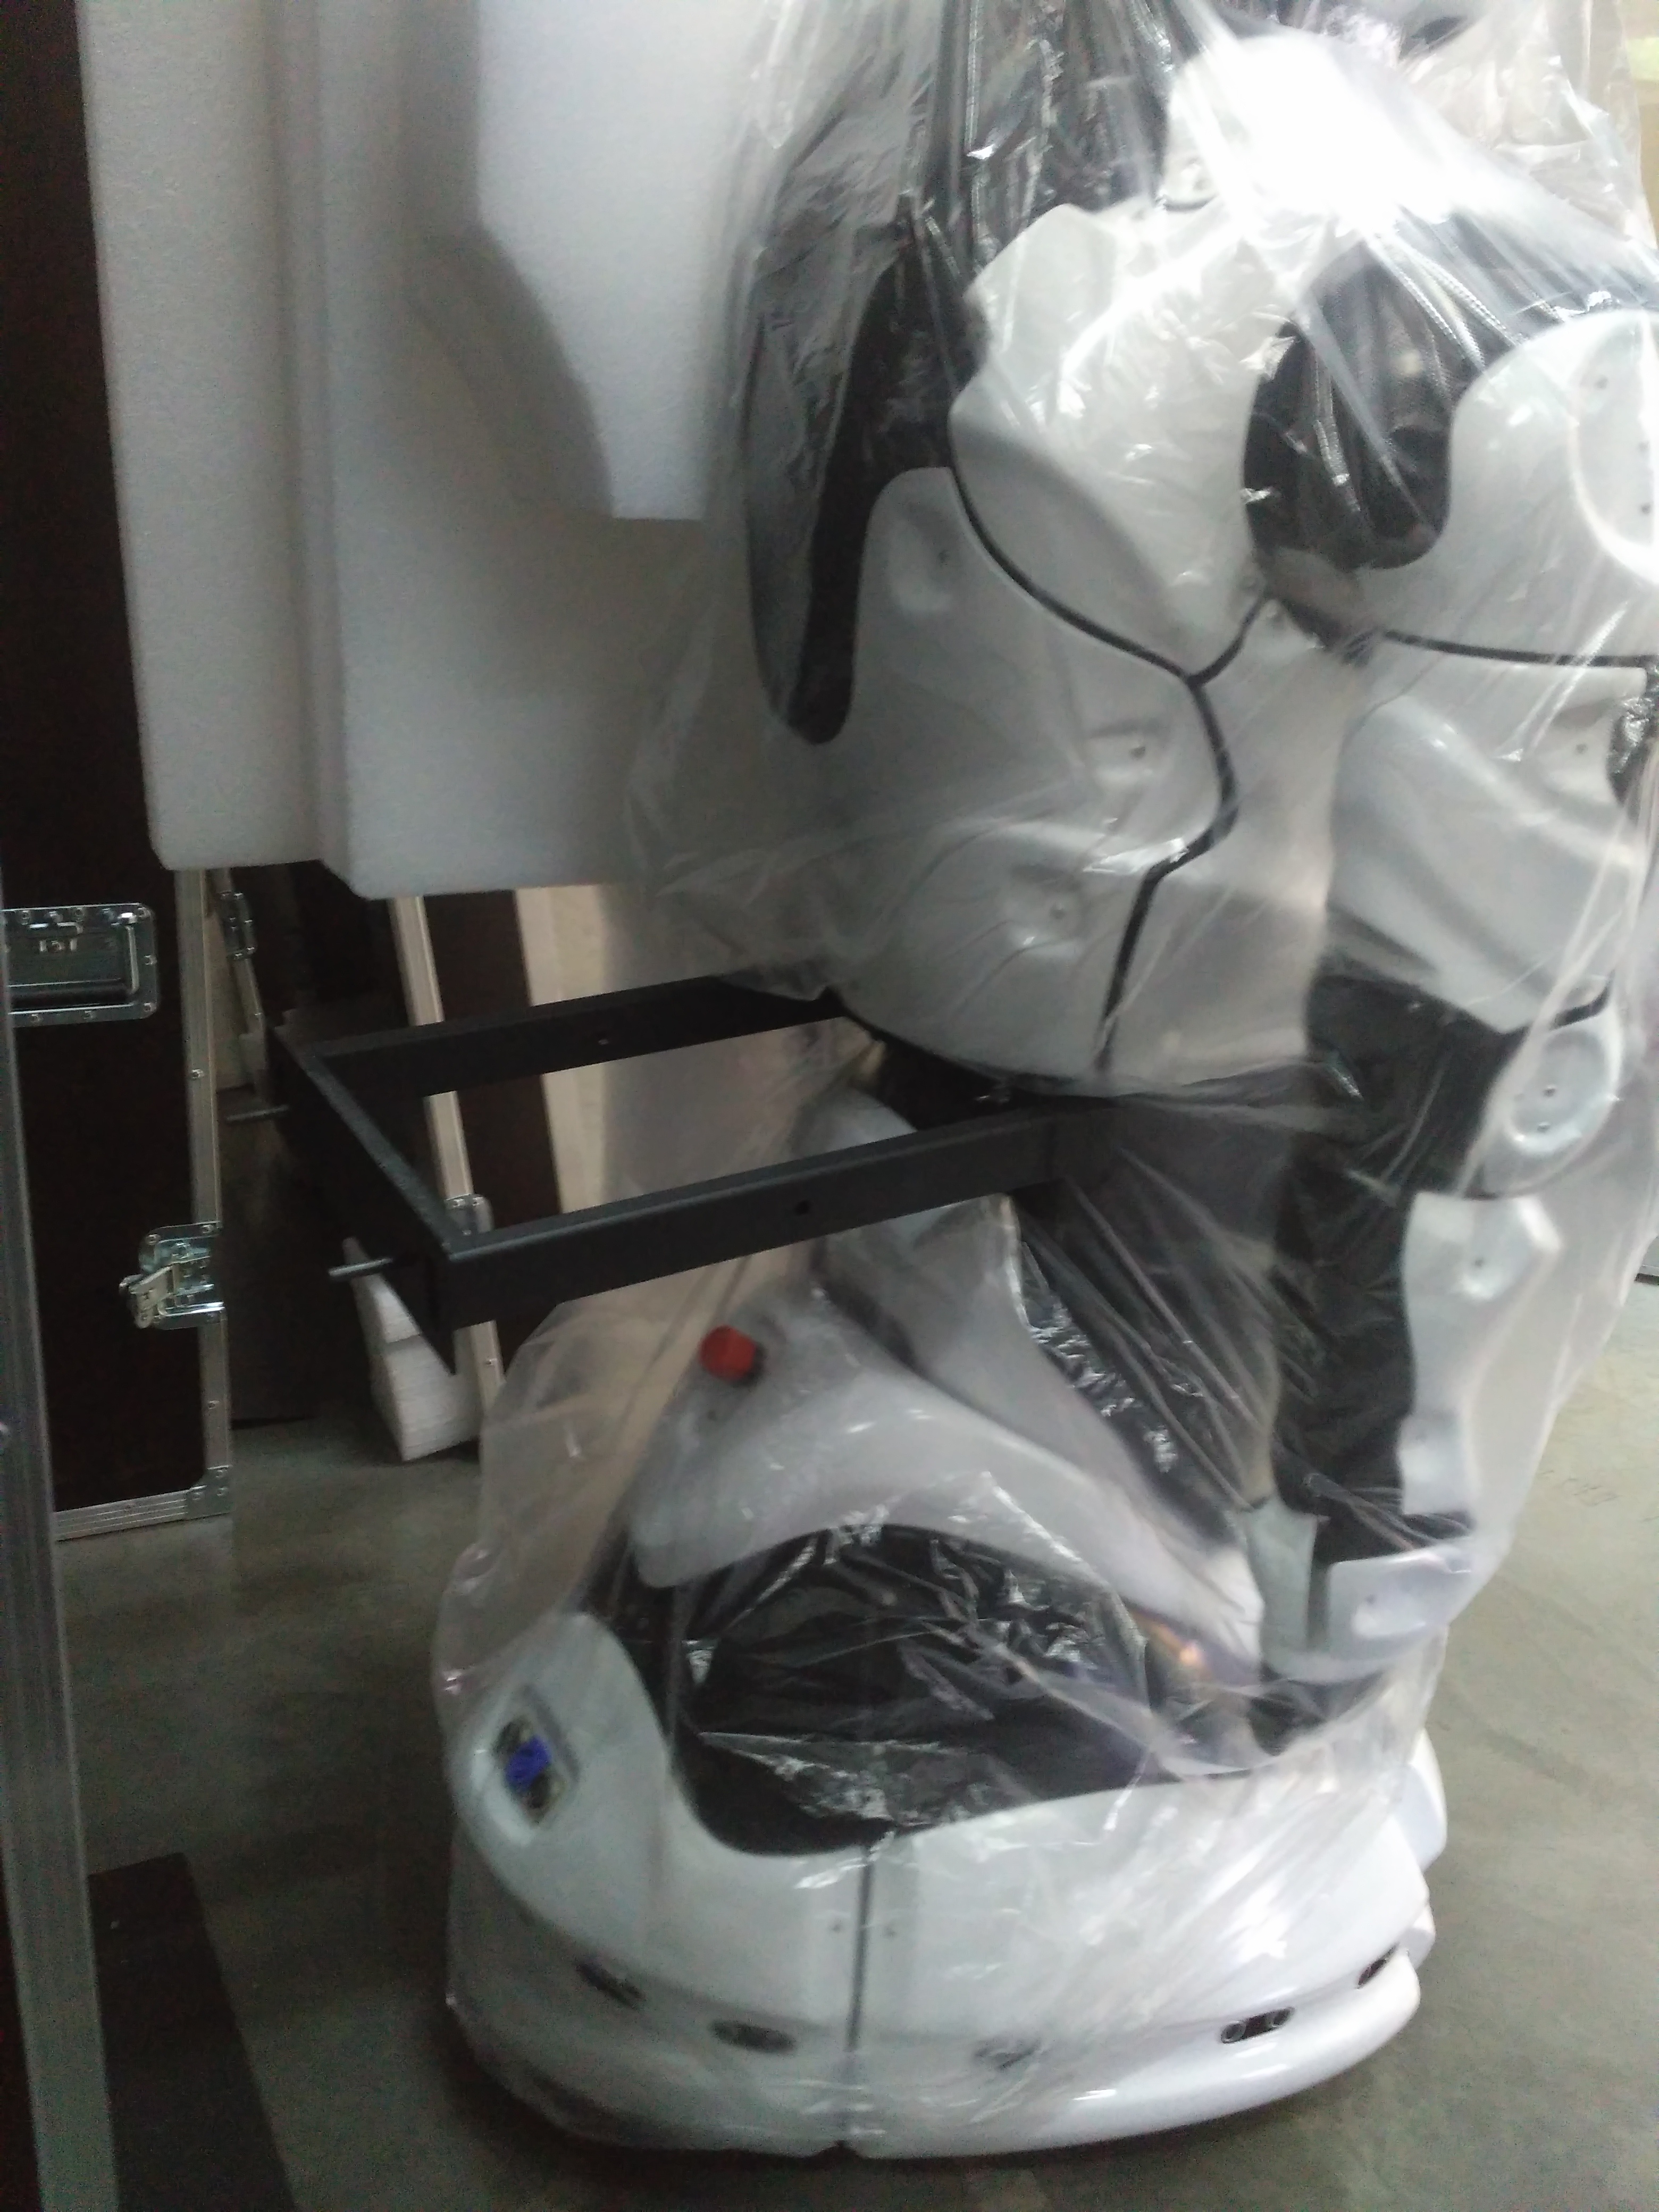
8. Удерживая робота за ложемент или за "талию", аккуратно выкатить его из кофра вместе с ложементом и фиксирующей скобой
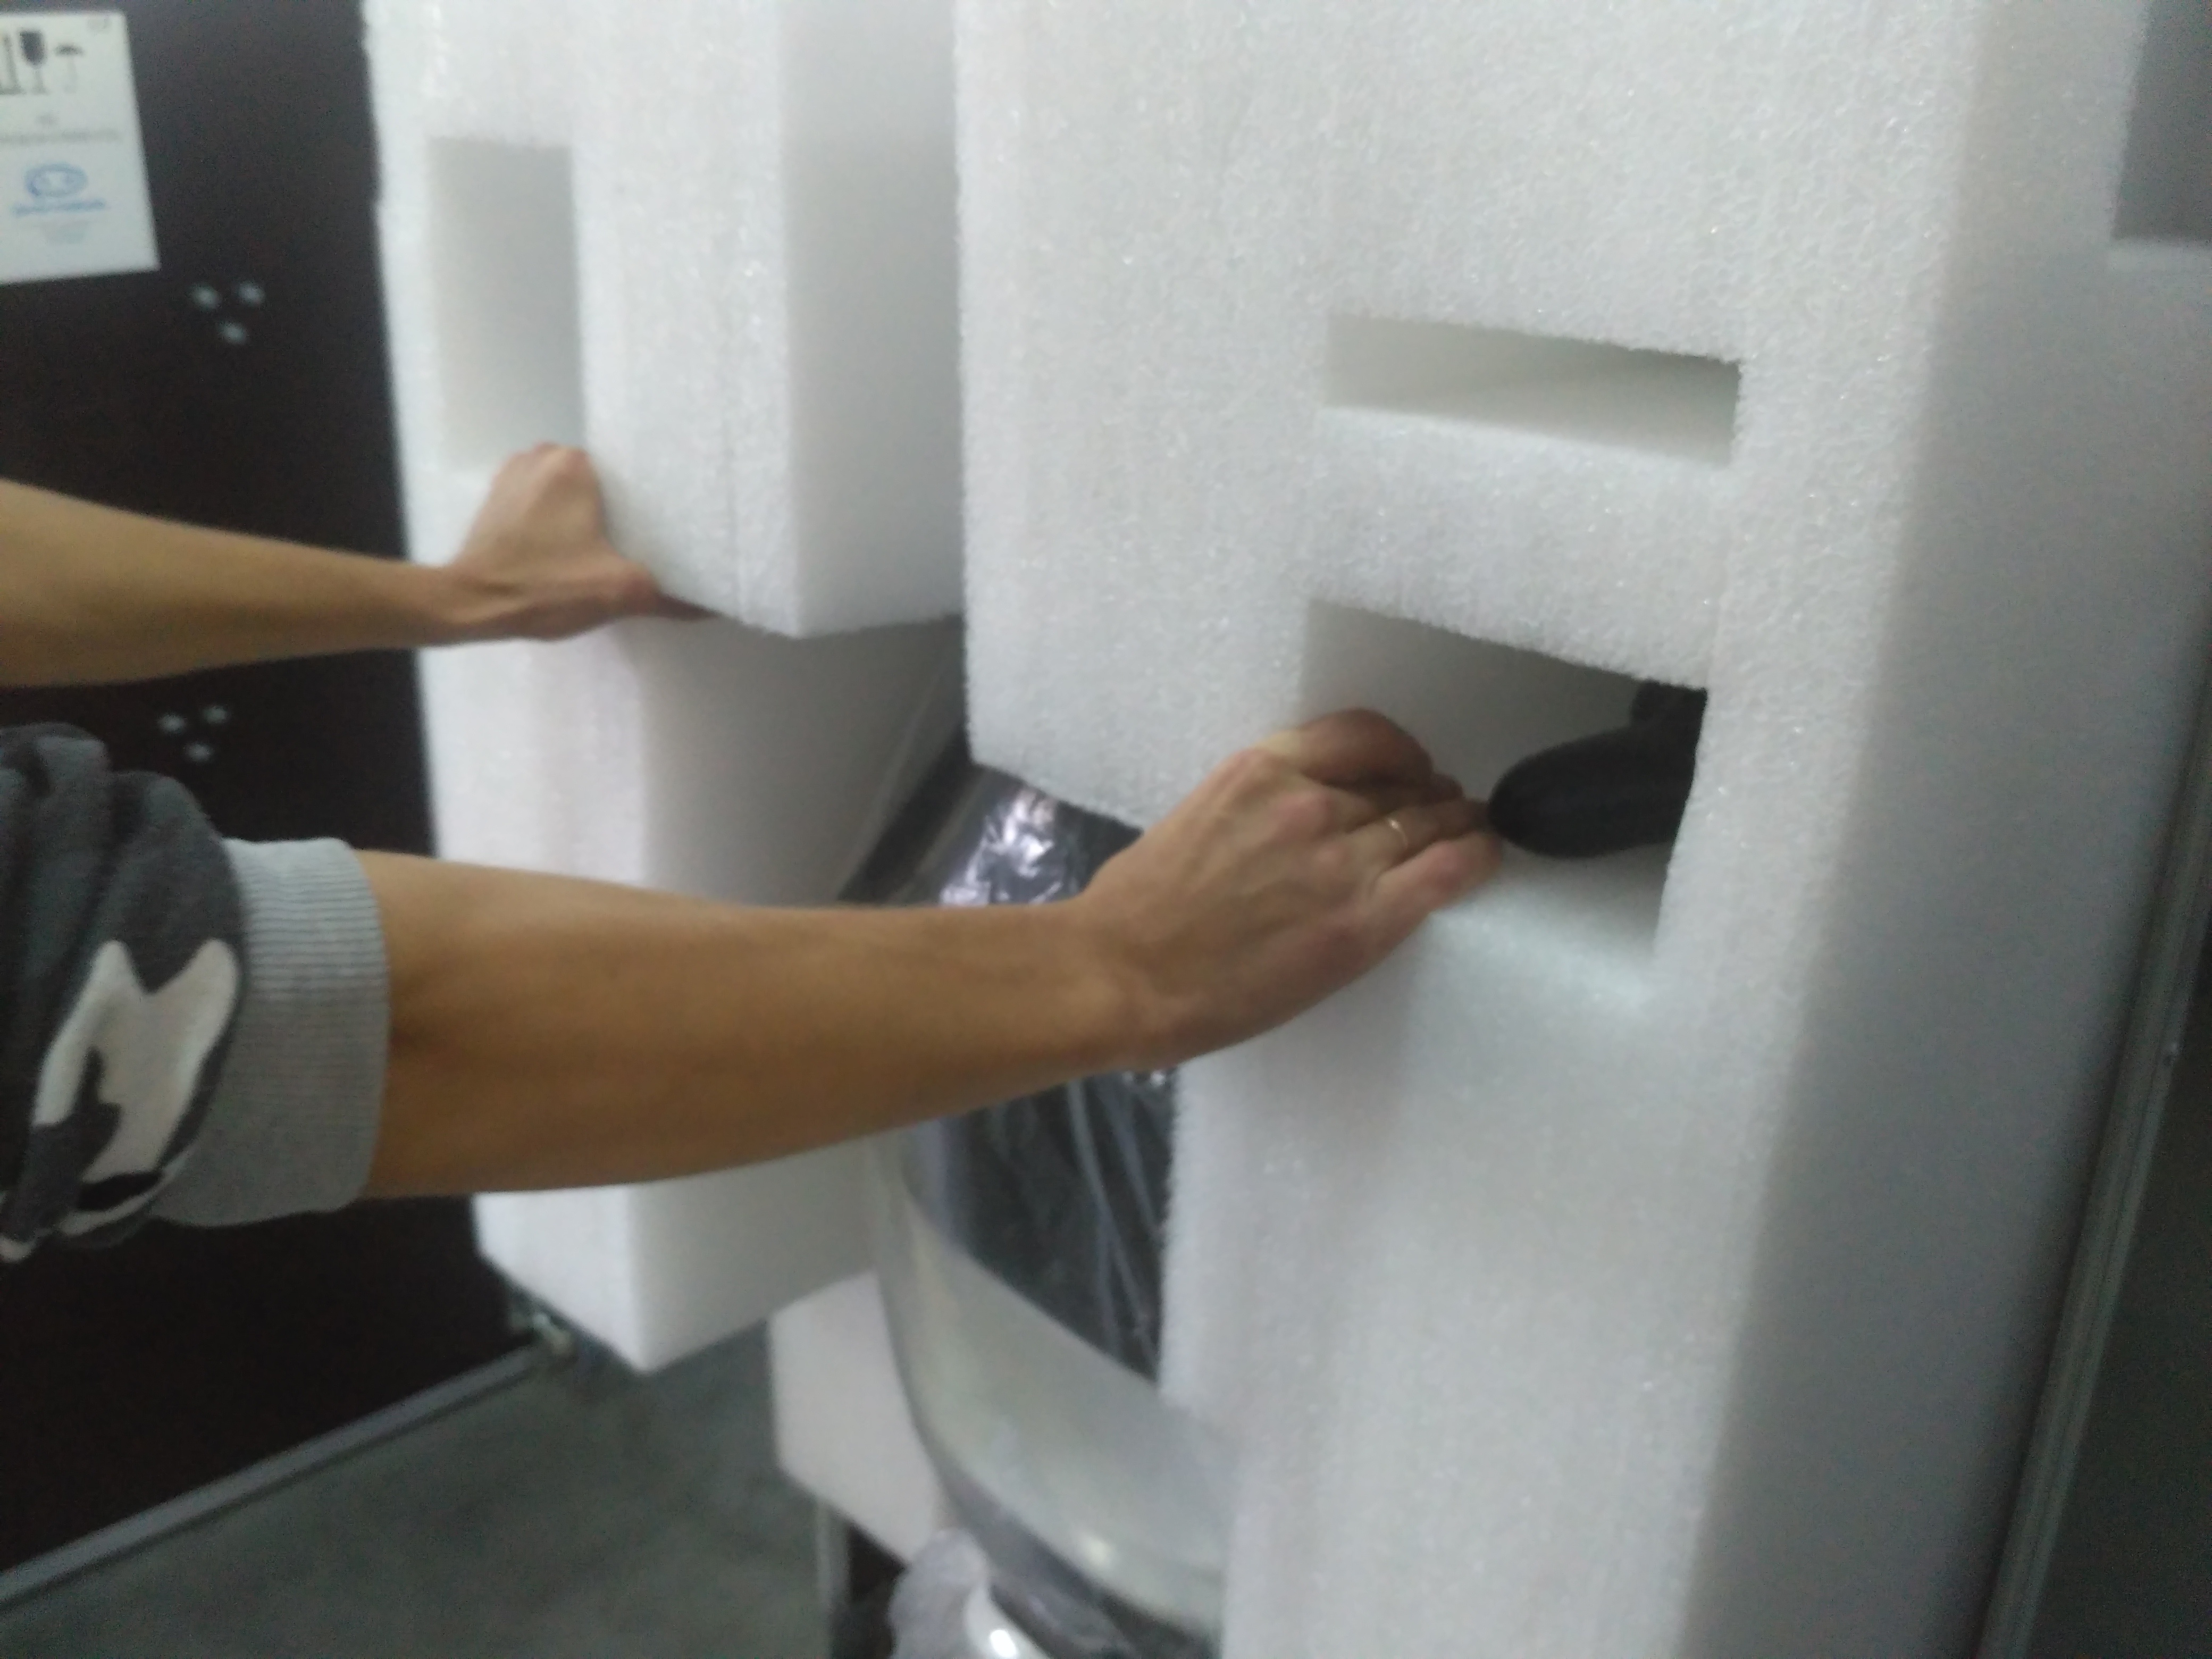
9. Снять два элемента ложемента с робота, аккуратно потянув их в стороны
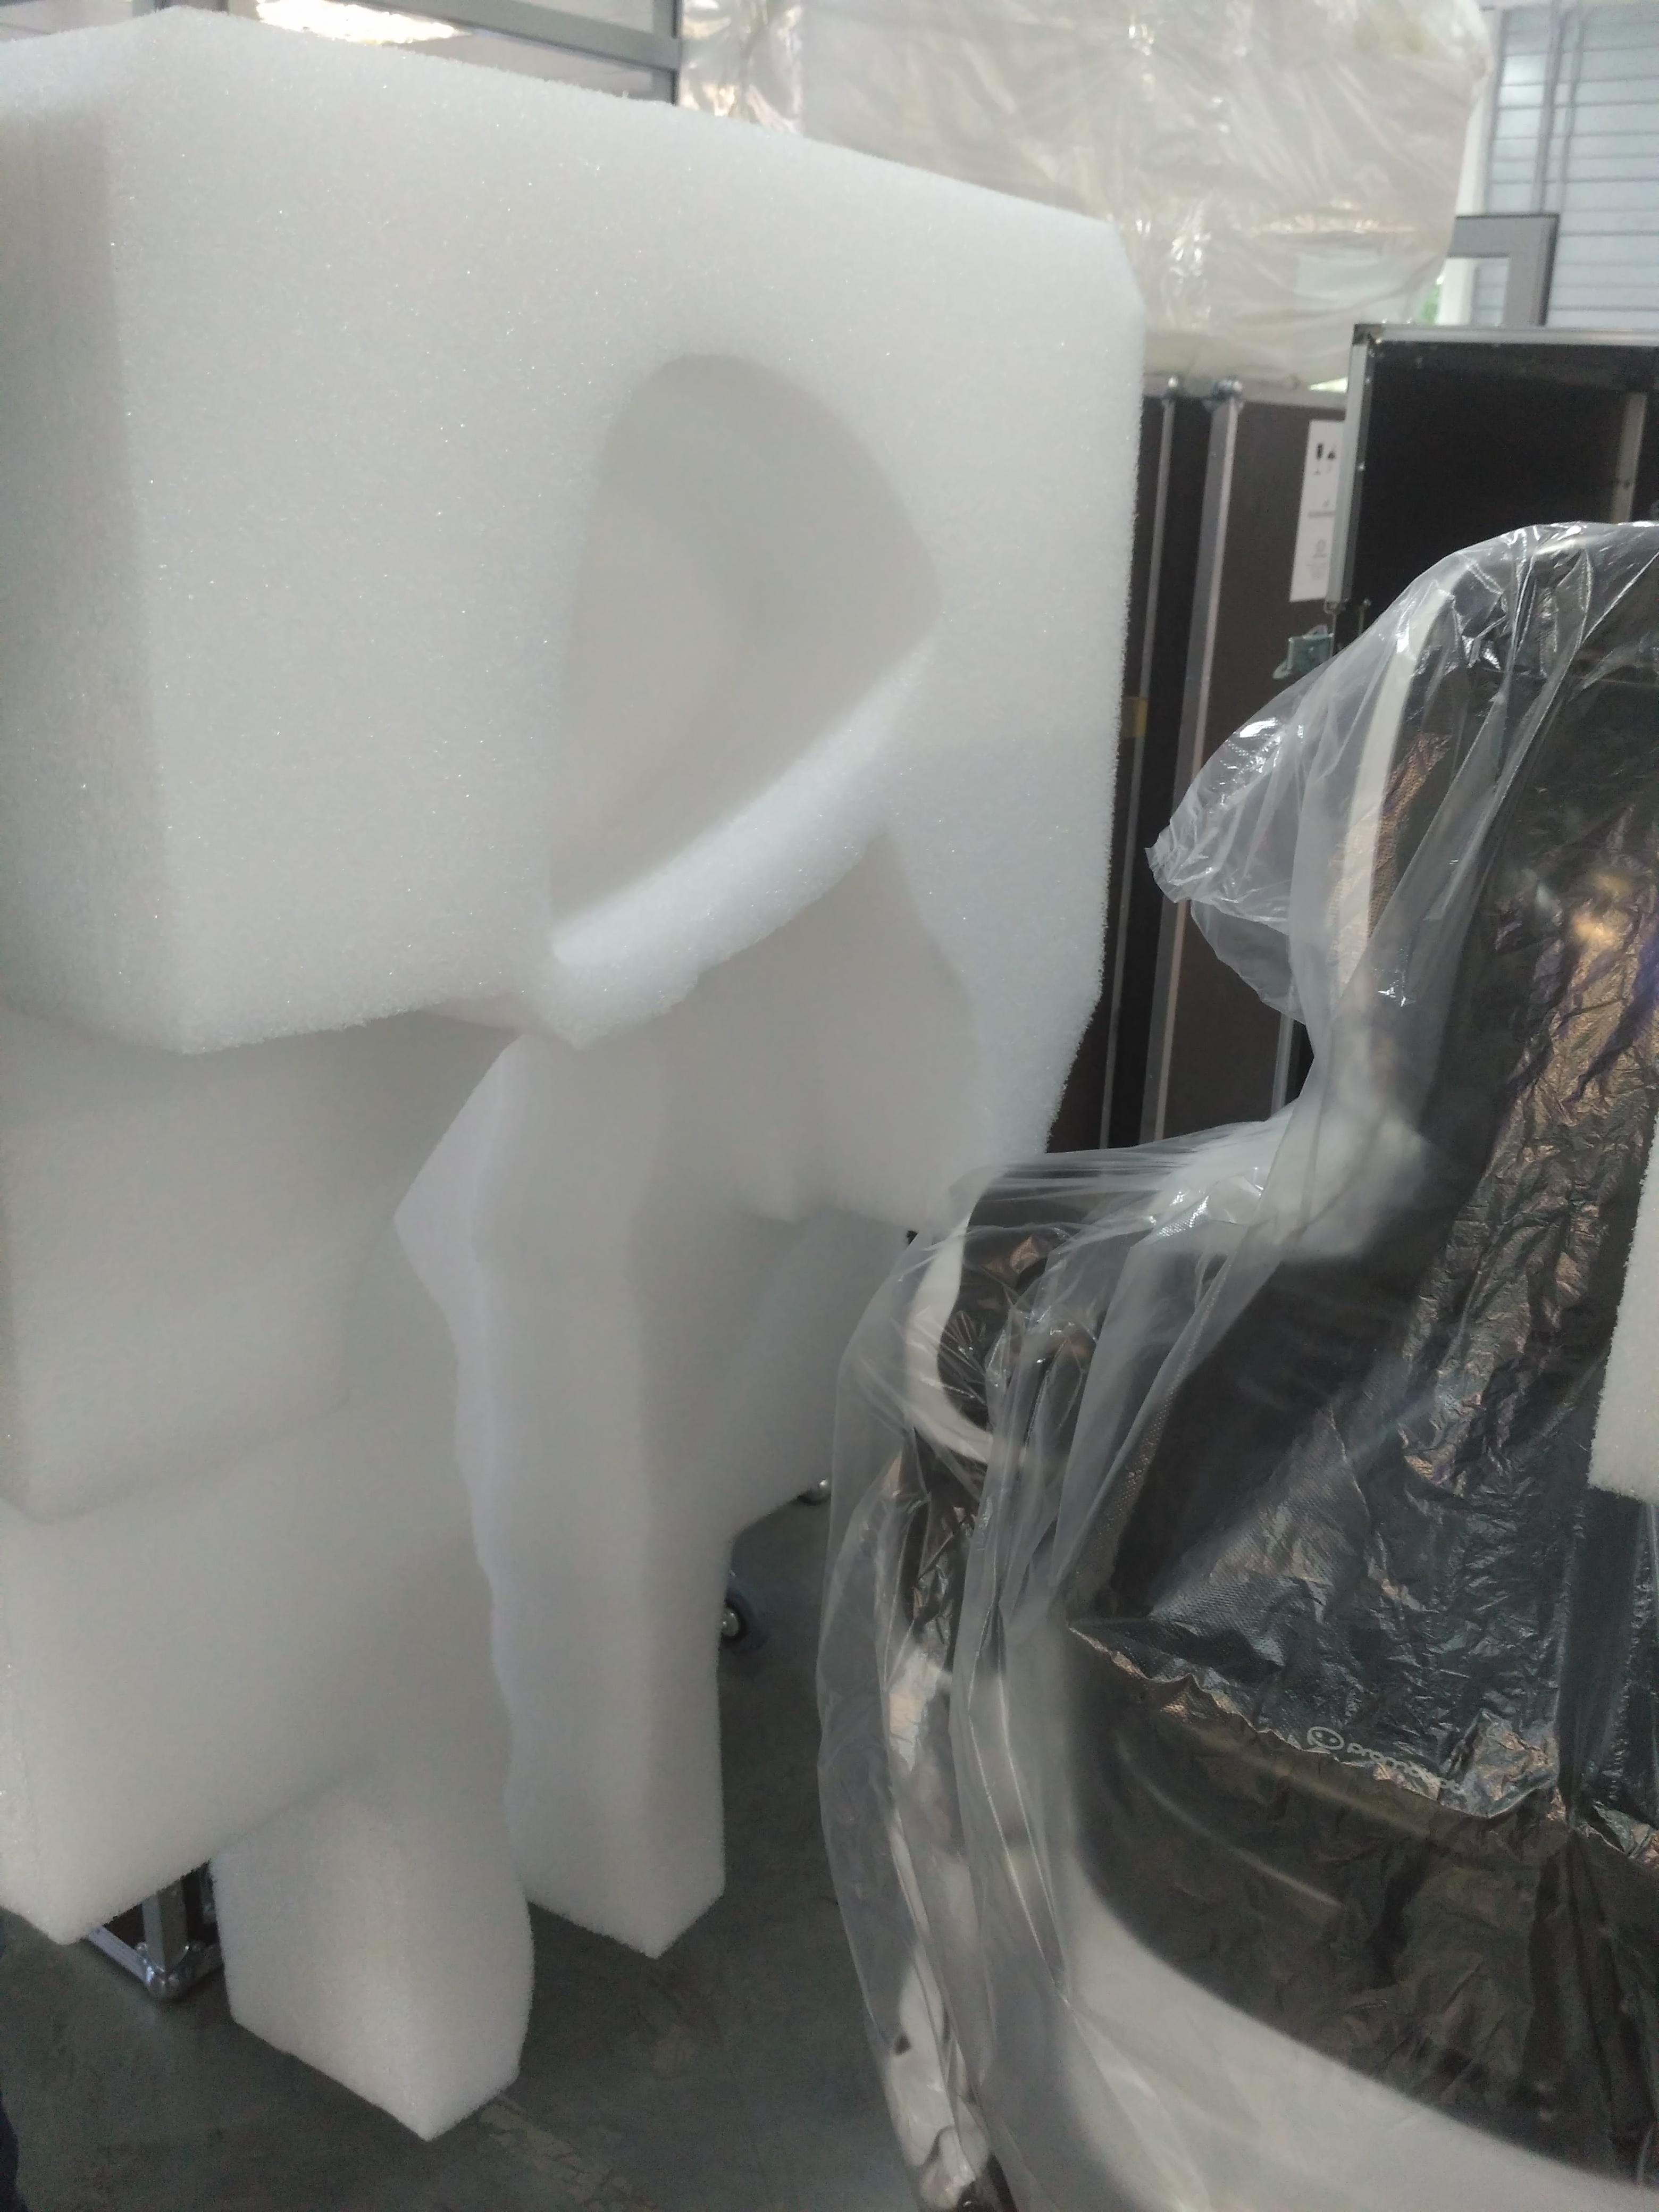
10. Отсоединить фиксирующую скобу от талии робота, открутив два барашковых винта. Винты можно закрепить в самой скобе, для этого предусмотрены резьбовые отверстия во внутренних боковых стенках скобы
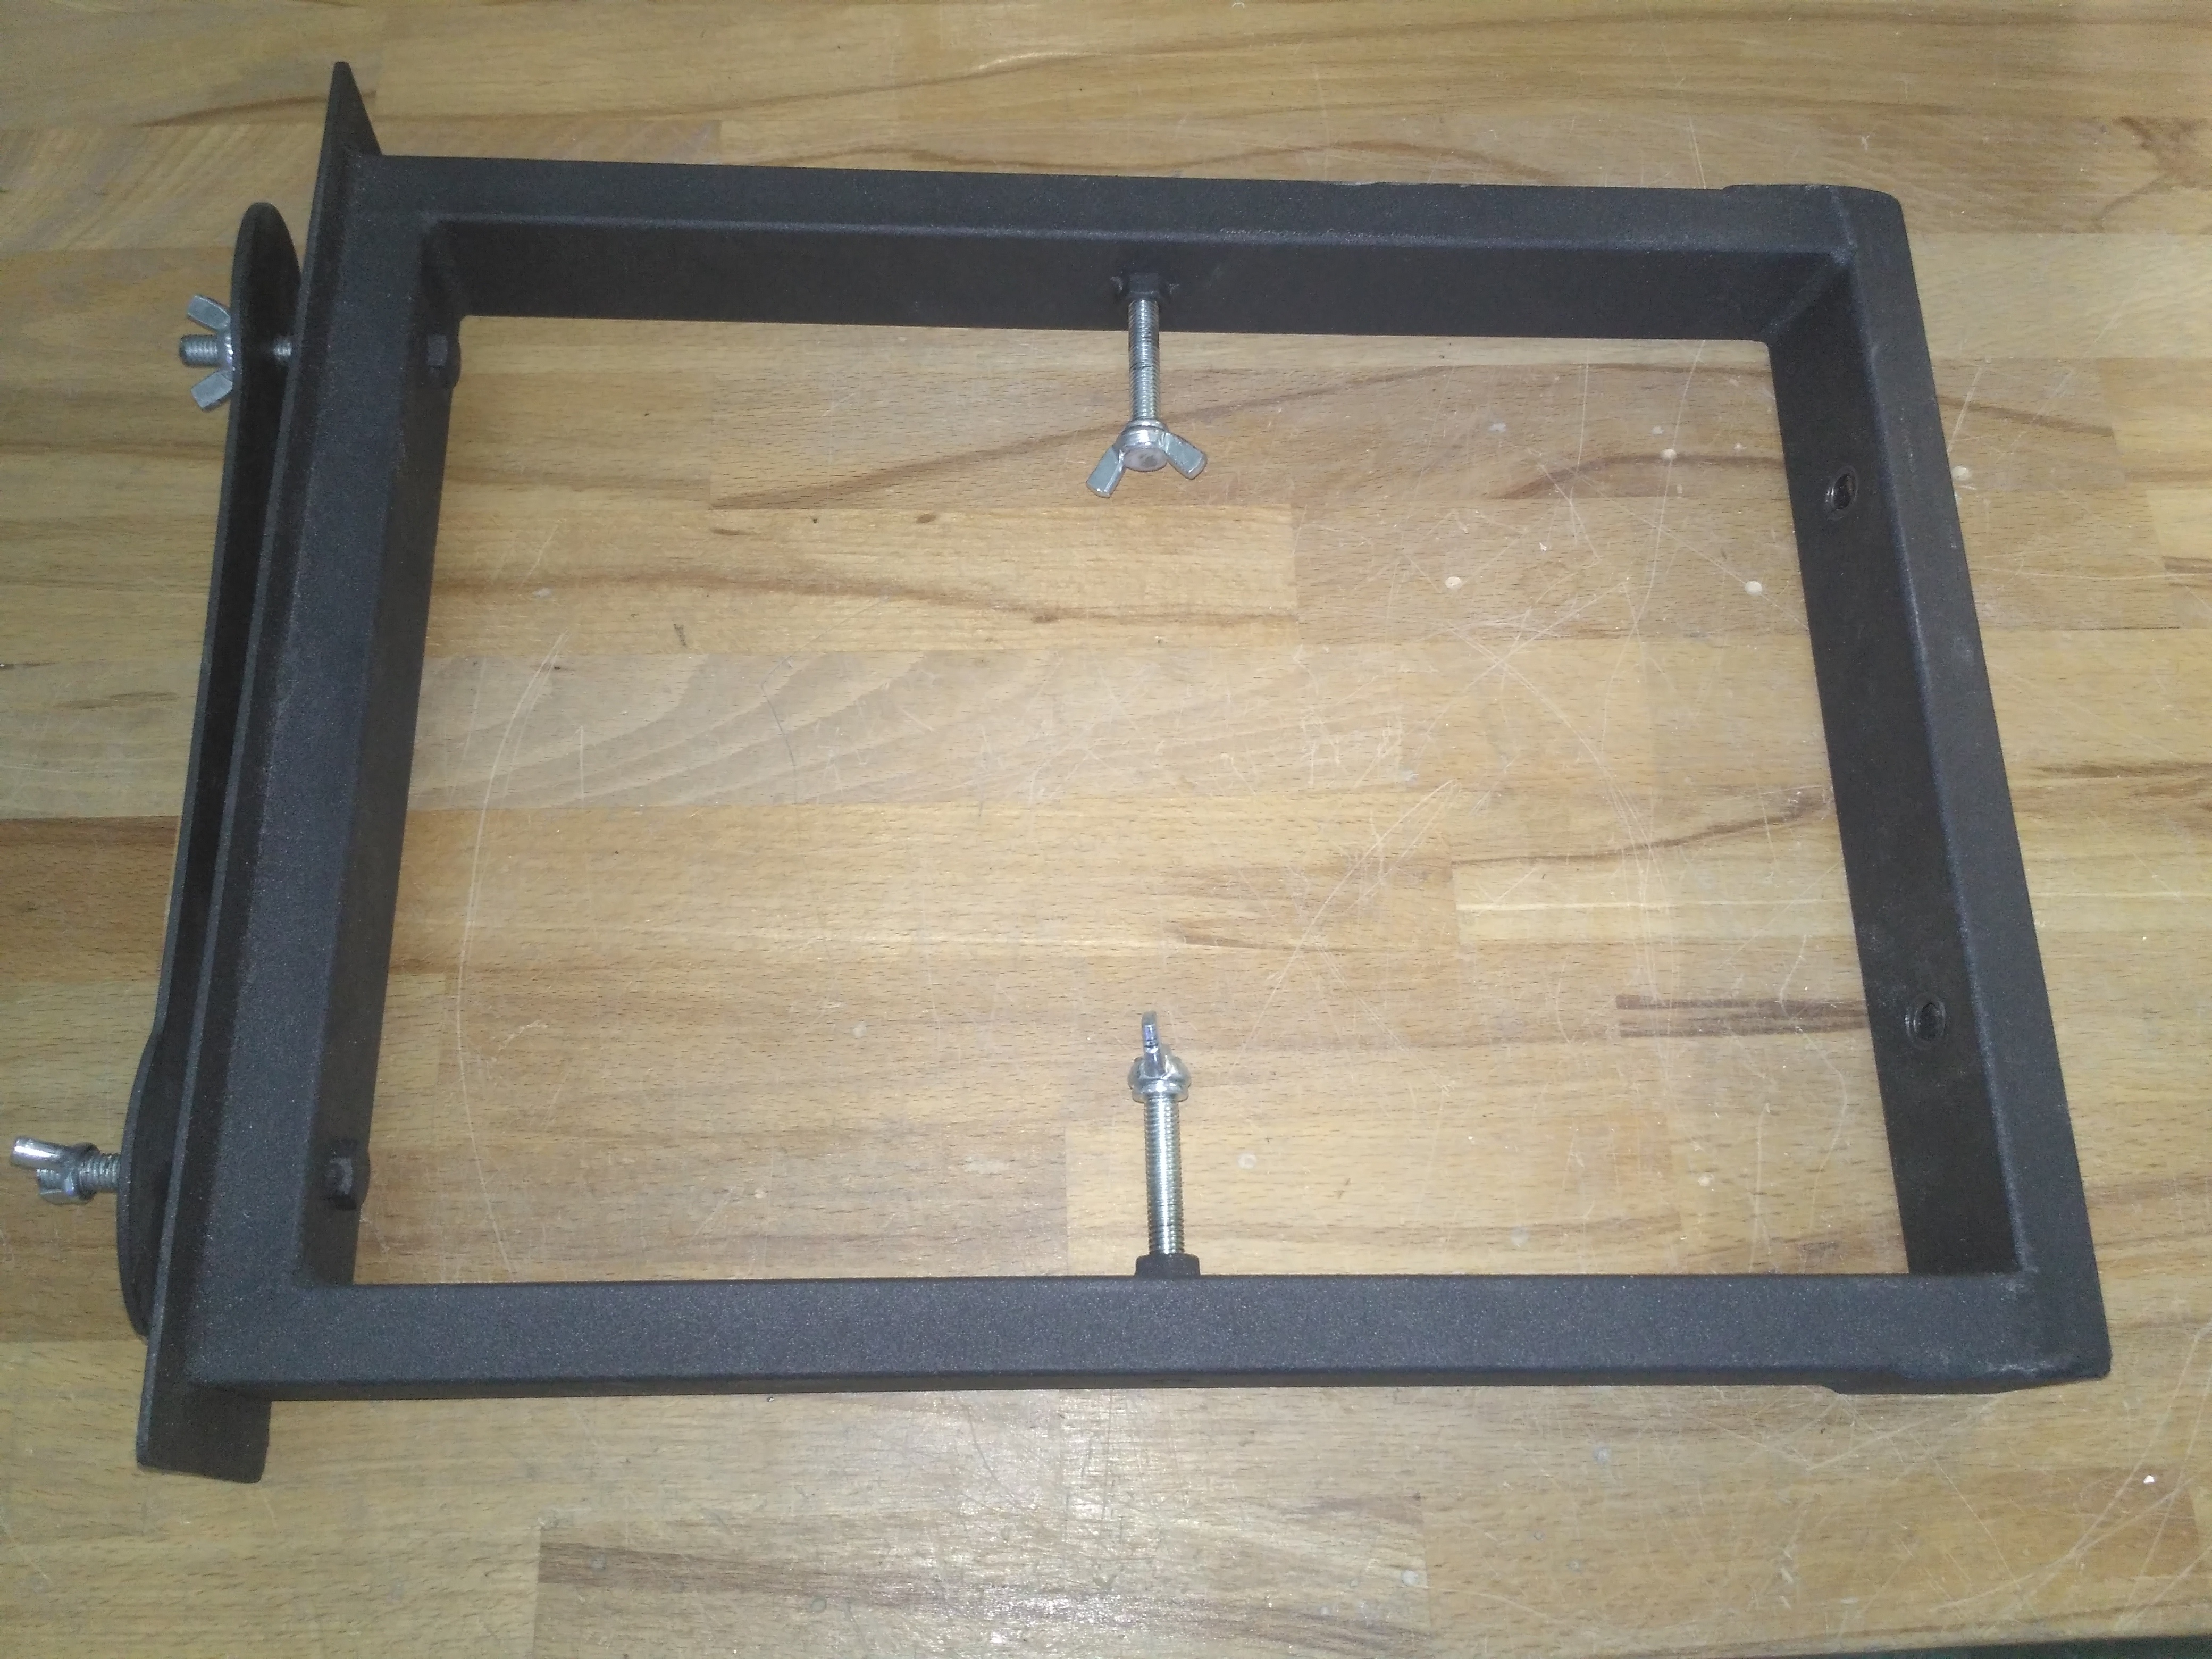
11. Снять защитный пакет с робота
12. Достать зарядную станцию и все дополнительные элементы комплектации (шнуры зарядки, инструкцию, пульт и т.д.) из ложемента
| Section | ||||||
|---|---|---|---|---|---|---|
|
13. Все элементы ложемента, фиксирующие платины и другие элементы транспортировочного кофра сложить в кофр, закрыть и зафиксировать крышку кофра и оставить кофр храниться для последующего использования при необходимости.
| English | ||||||||||||||||||||
|---|---|---|---|---|---|---|---|---|---|---|---|---|---|---|---|---|---|---|---|---|
Introduction1. The robot is transported in special protective case
2. The case is equipped with rollers, handles, cover, locks
3. One should move the robot either vertically in accordance with the marking on the label or horizontally on wheels
4. The robot is inside the case and surrounded by the polyethylene foam lodgment, which protects the robot from damage during transportation.
5. The robot in the lodgment is closed by the package to protect the paintwork
6. The robot is attached to the case with special removable bracket
When you receive a robot, you must ensure that the case was transported in accordance with the requirements (vertically in accordance with the label or horizontally on wheels), visually assess the integrity of the case. Unpacking should be done with an assistant! The process of unpacking after receive of the case with the robot1. Place the case vertically in accordance with the marking on the label
2. Remove the 4 thumbscrews on the cover locks, open locks
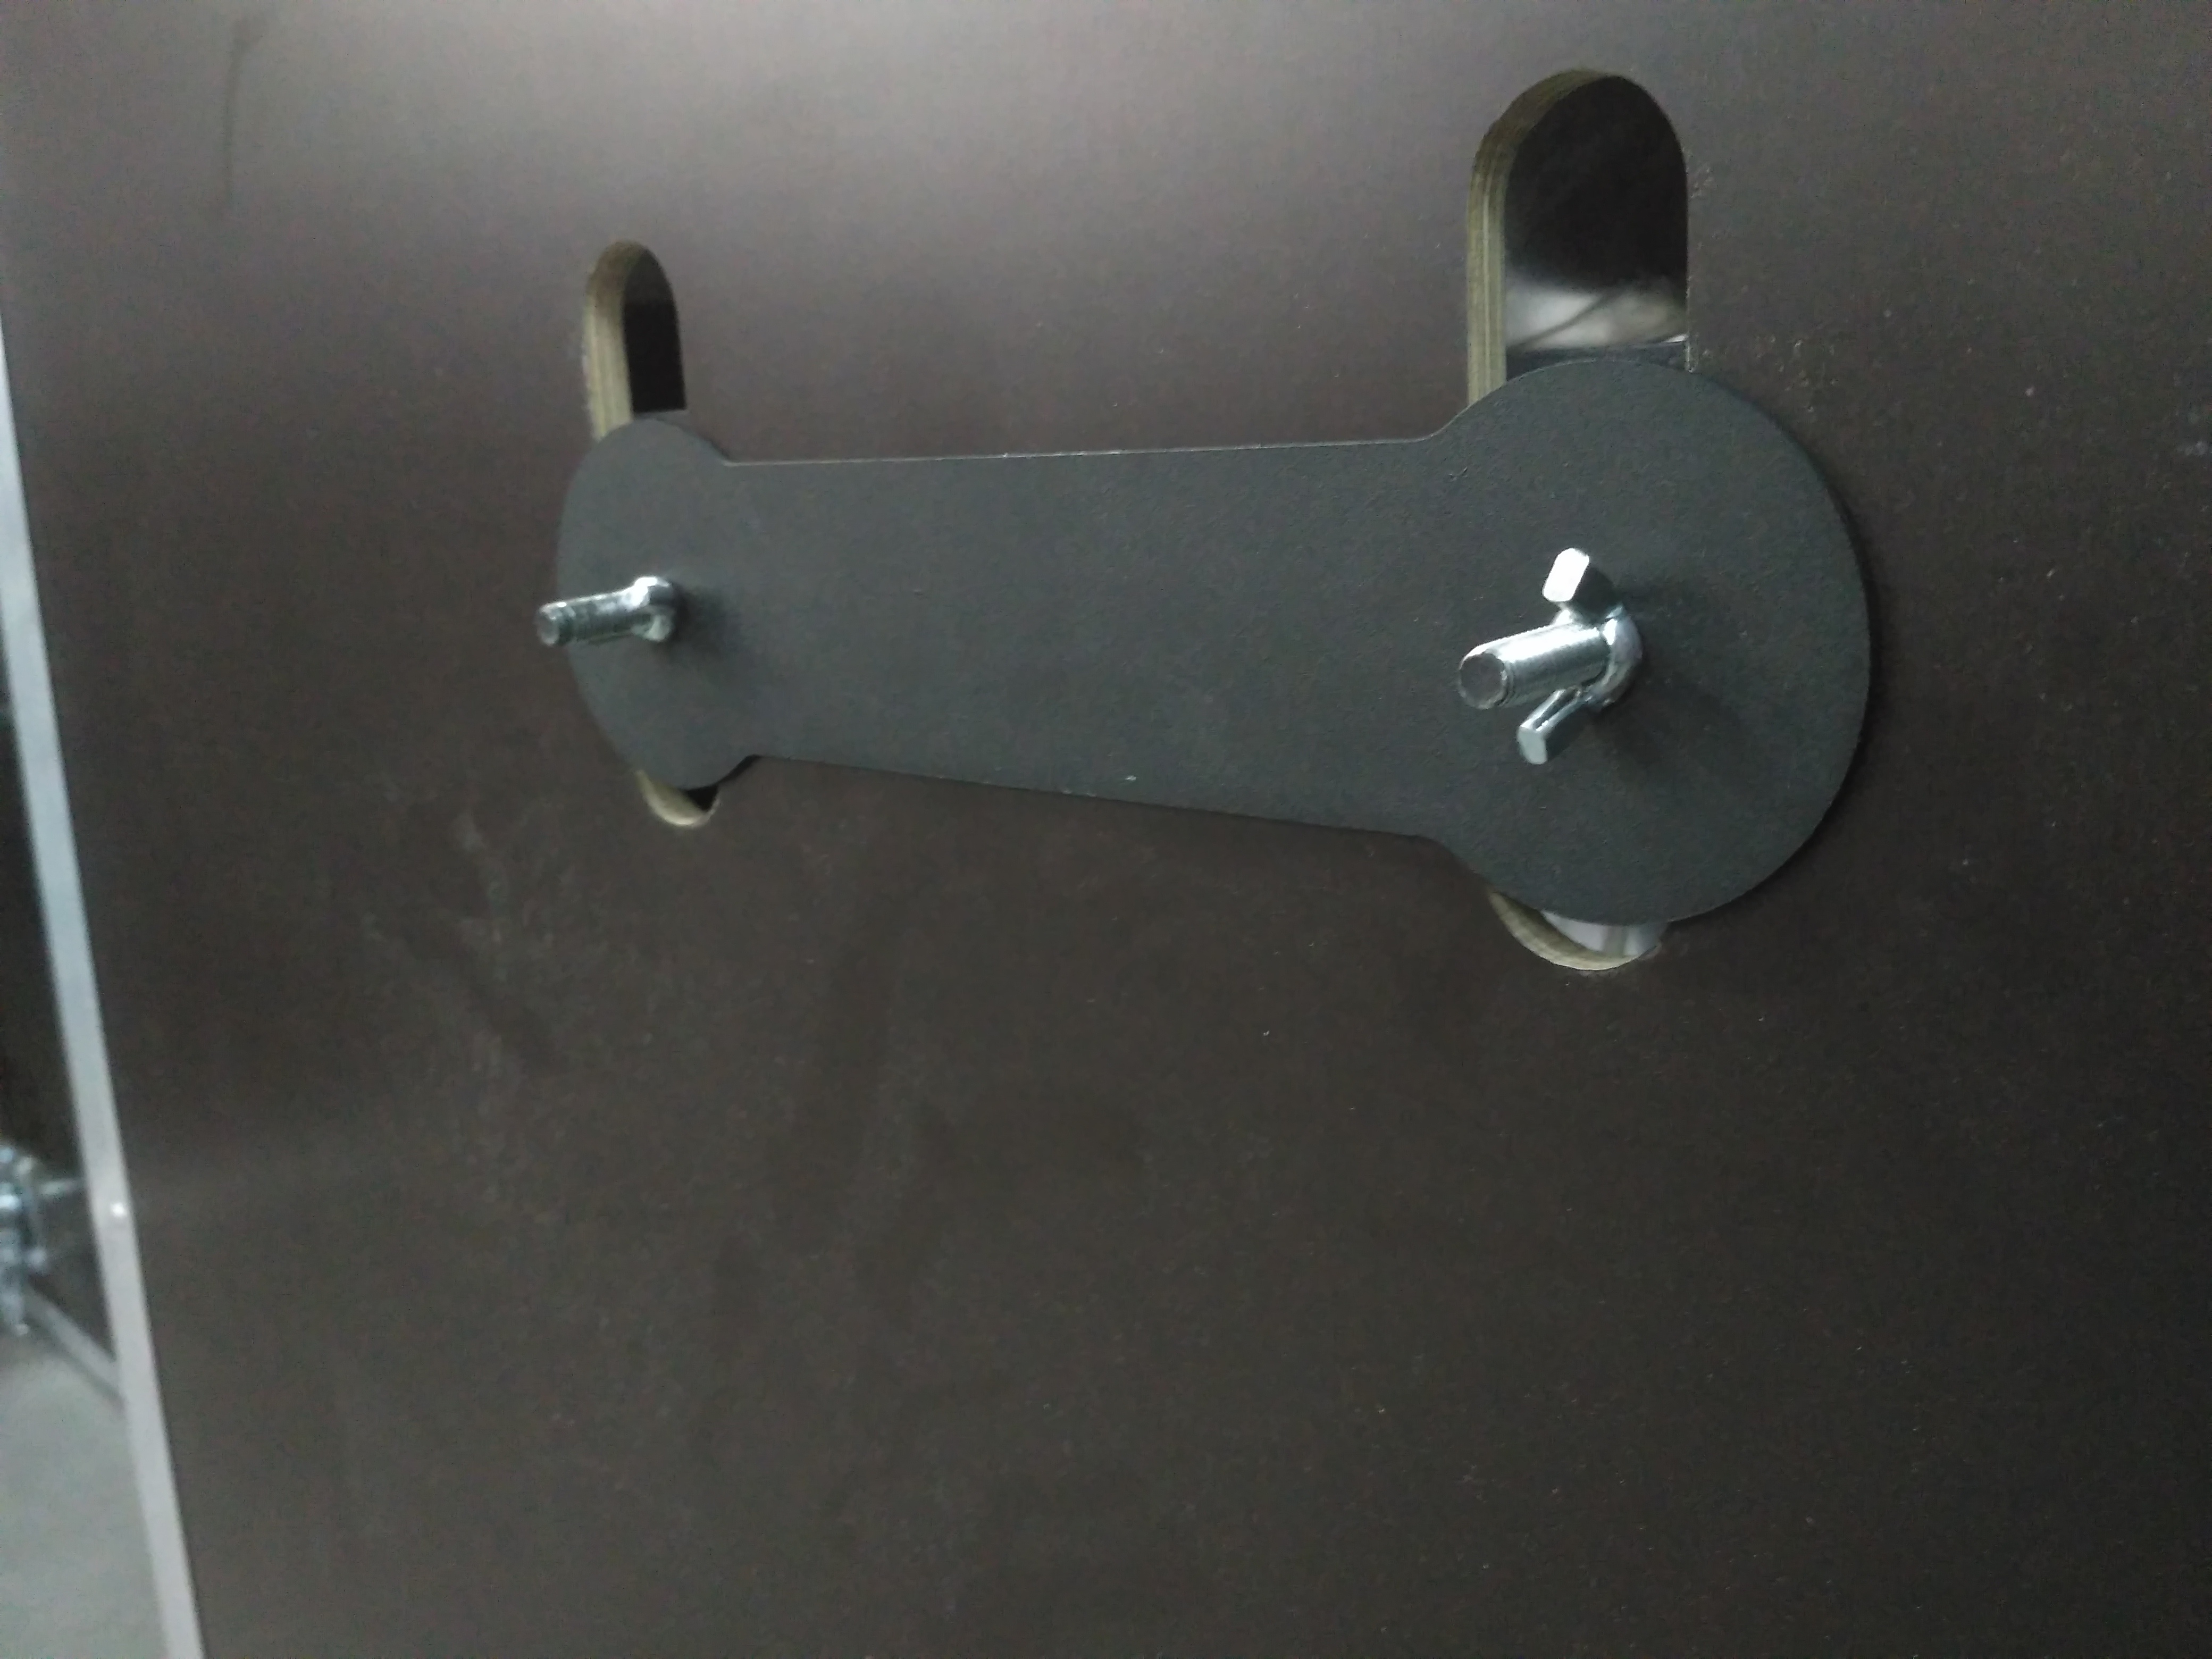
3. Remove the case cover, take it away 4. Visually assess the condition of the robot and components after shipment 5. Remove the thumbscrews securing the bracket on the side where the wheels of the case are situated. If thumbscrews can not be unscrewed by hand, it is necessary to push the robot from the cover side towards the rear side of the case, or slightly tilt the case with the fixed robot inside in the direction of the wheels (slightly tilt the upper part of the case towards you from the wheels side).
6. Remove the mounting plate 7. Remove the metal rack out of the lodgment and install it on the profile of case for the convenience of rolling the robot out
8. Hold robot's lodgment or "waist", gently roll it out from the case with lodgment and fixing bracket
9. Remove the two element lodgment from the robot, gently pulling them apart
10. Remove the fixing bracket from the waist of the robot by unscrewing two thumbscrews. The screws can be mounted in the bracket, this is provided by threaded holes in the inner side walls of the bracket
11. Remove the protective cover from the robot 12. Remove the charging station and all additional items of equipment (charging cords, manual, controller, etc.) from lodgment
13. All elements of the cradle, fixing plates and other items of the cases should be put into the case, the cover should be closed and locked and the case is to be stored for later use if necessary |
| Russian |
|---|
Файлы для загрузки |
| English |
|---|
Downloads |
